


Today I’m going to show you how to assemble a bagel how I assemble a bagel but first let’s start with a little story, shall we?
I remember when Mumbai got it’s first bagel-themed cafe, The Bagel Shop back in ’08. It wasn’t far from college but my friends were always broke & never wanted to leave the canteen so I went by myself. I didn’t have a job then & didn’t want to spend all of my pocket money so I had a look at the menu & ordered the hummus bagel (cheapest bagel on the menu, even though it wasn’t all that cheap at ₹120!)
Then I settled down at a cozy corner with a British gossip magazine & waited. And when the bagel arrived I knew the little excursion was worth it… it tasted heavenly. But also remarkably easy to make.
And I’ve been making my own bagels ever since. 😉
Bagels are dense, chewy doughnut shaped breads that are usually sliced through & eaten just like a sandwich. They originated in Poland but are to me they are synonymous with the streets of New York City (right up there with Hot Dogs!) The bagels (bread) are pretty easily available & you can go crazy with what you decide to stuff / fill it with.
All you need is
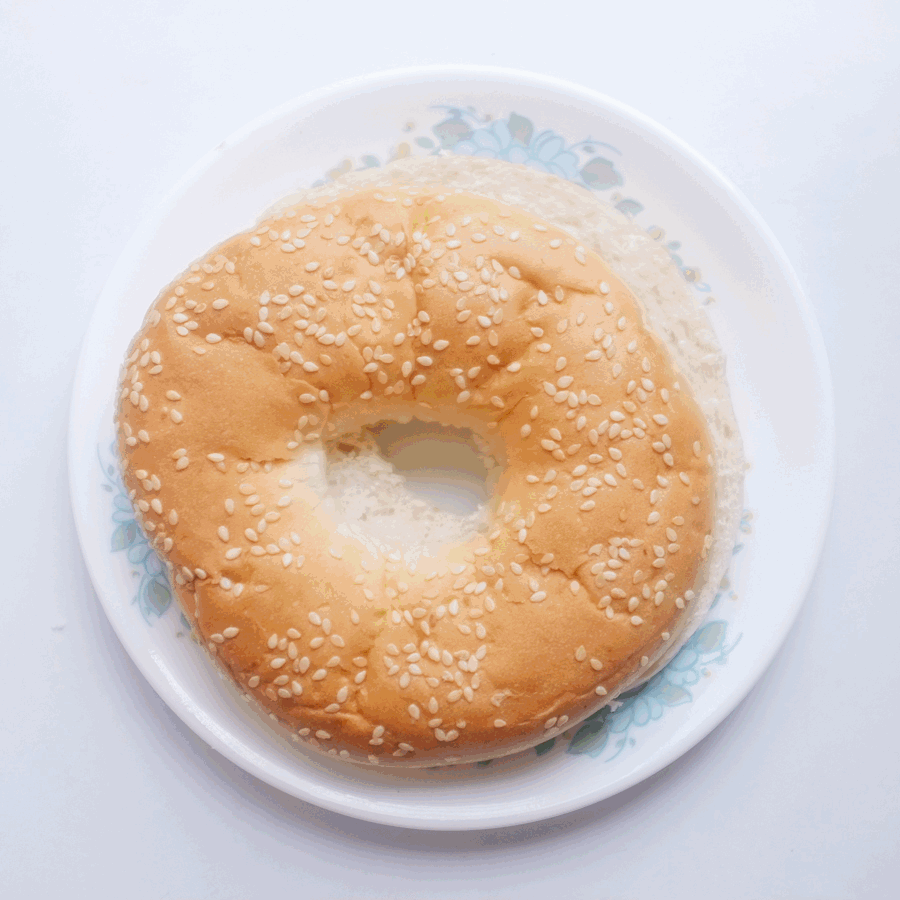
 A bagel. I’ve tried a few & my favorite are by Moshe’s. Not overtly chewy but soft & nice. Bagelwala also sells some on Localbanya but those are best avoided.
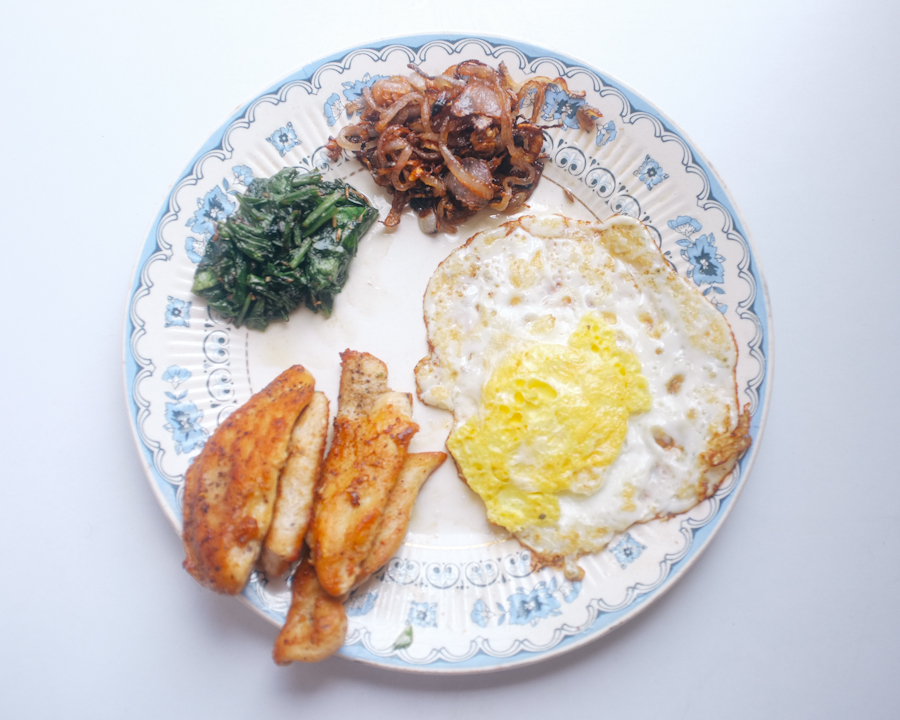 Filling – fried spinach, crispy caramelized onion, an egg (I usually like to keep the yolk intact but it broke), grilled chicken breast. Not pictured: Cream cheese (or in my case amul cheese spread).


